Adding a LinkedIn Company or Personal Page to Sked Social | Sked Social Help Center
Get your LinkedIn connected to Sked Social
Getting Connected
Sked Social supports both LinkedIn Company and Personal Pages.
(Note: To add a Company Page, you must be an Admin)
To connect your LinkedIn accounts to Sked, start by logging in to your Sked account.
Navigate to the Social Accounts page by clicking add accounts at the top right, then click Manage social accounts.
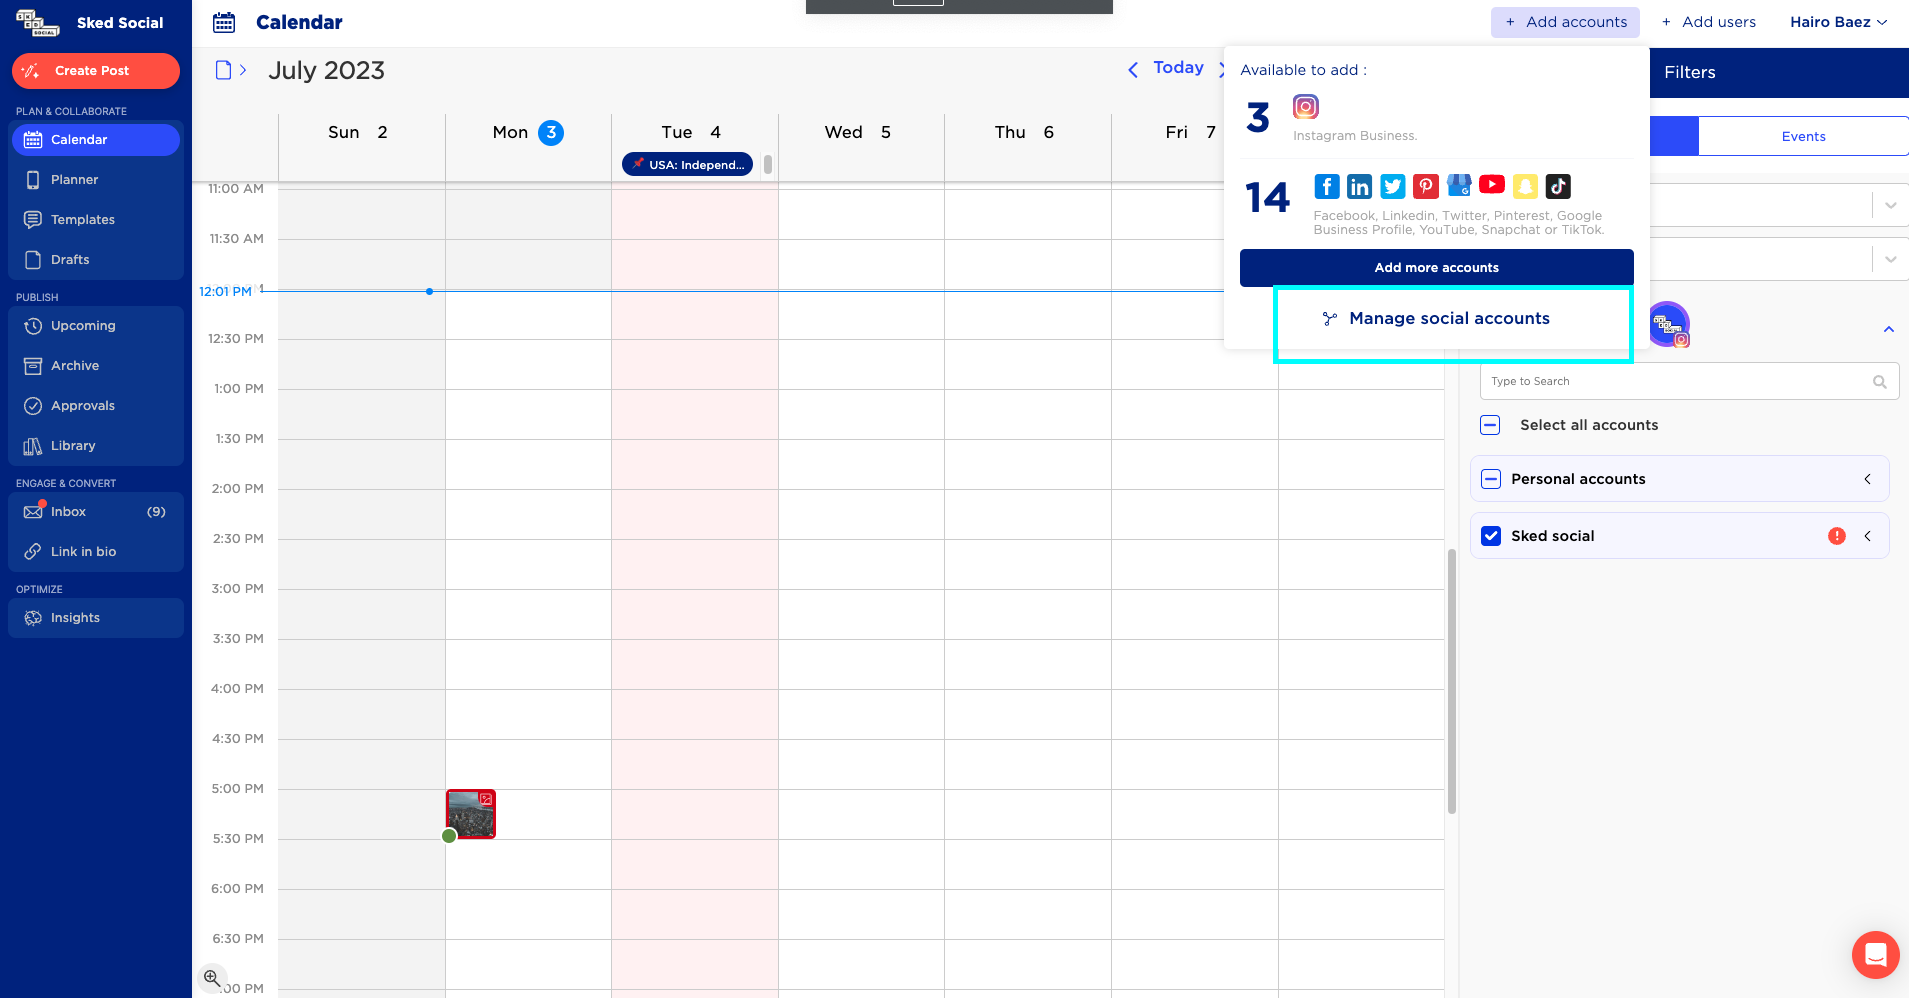
The Social Accounts page shows you the accounts linked to your Sked Social account. If you are setting up your Sked Social account for the first time, you will not see any accounts added.
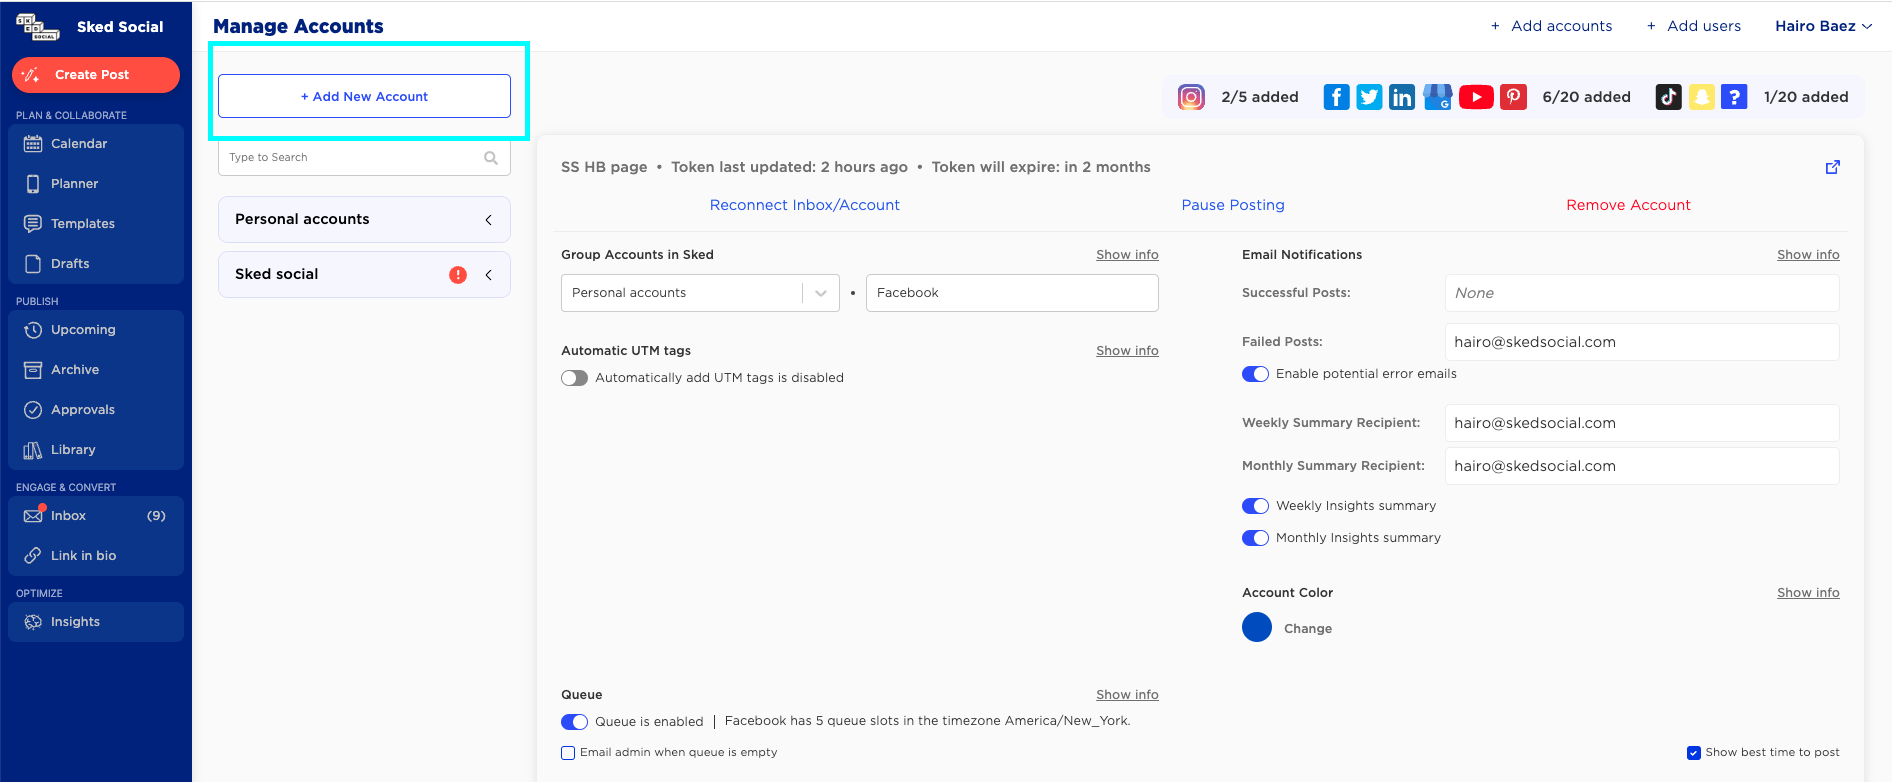
Click the + Add New Account button.
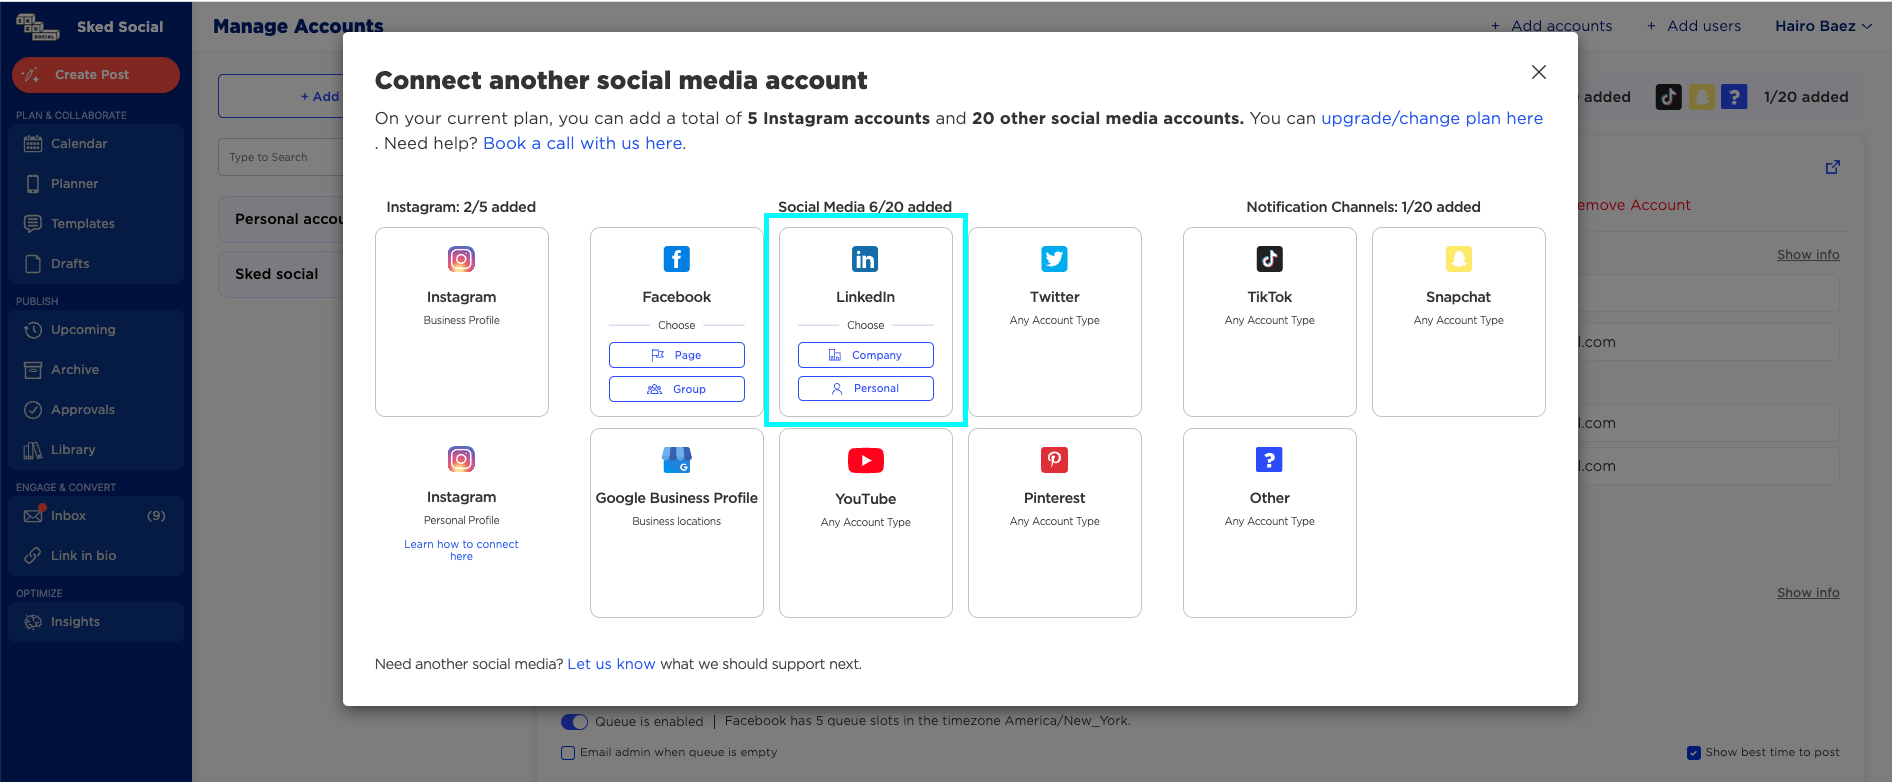
And select LinkedIn Company or Personal.
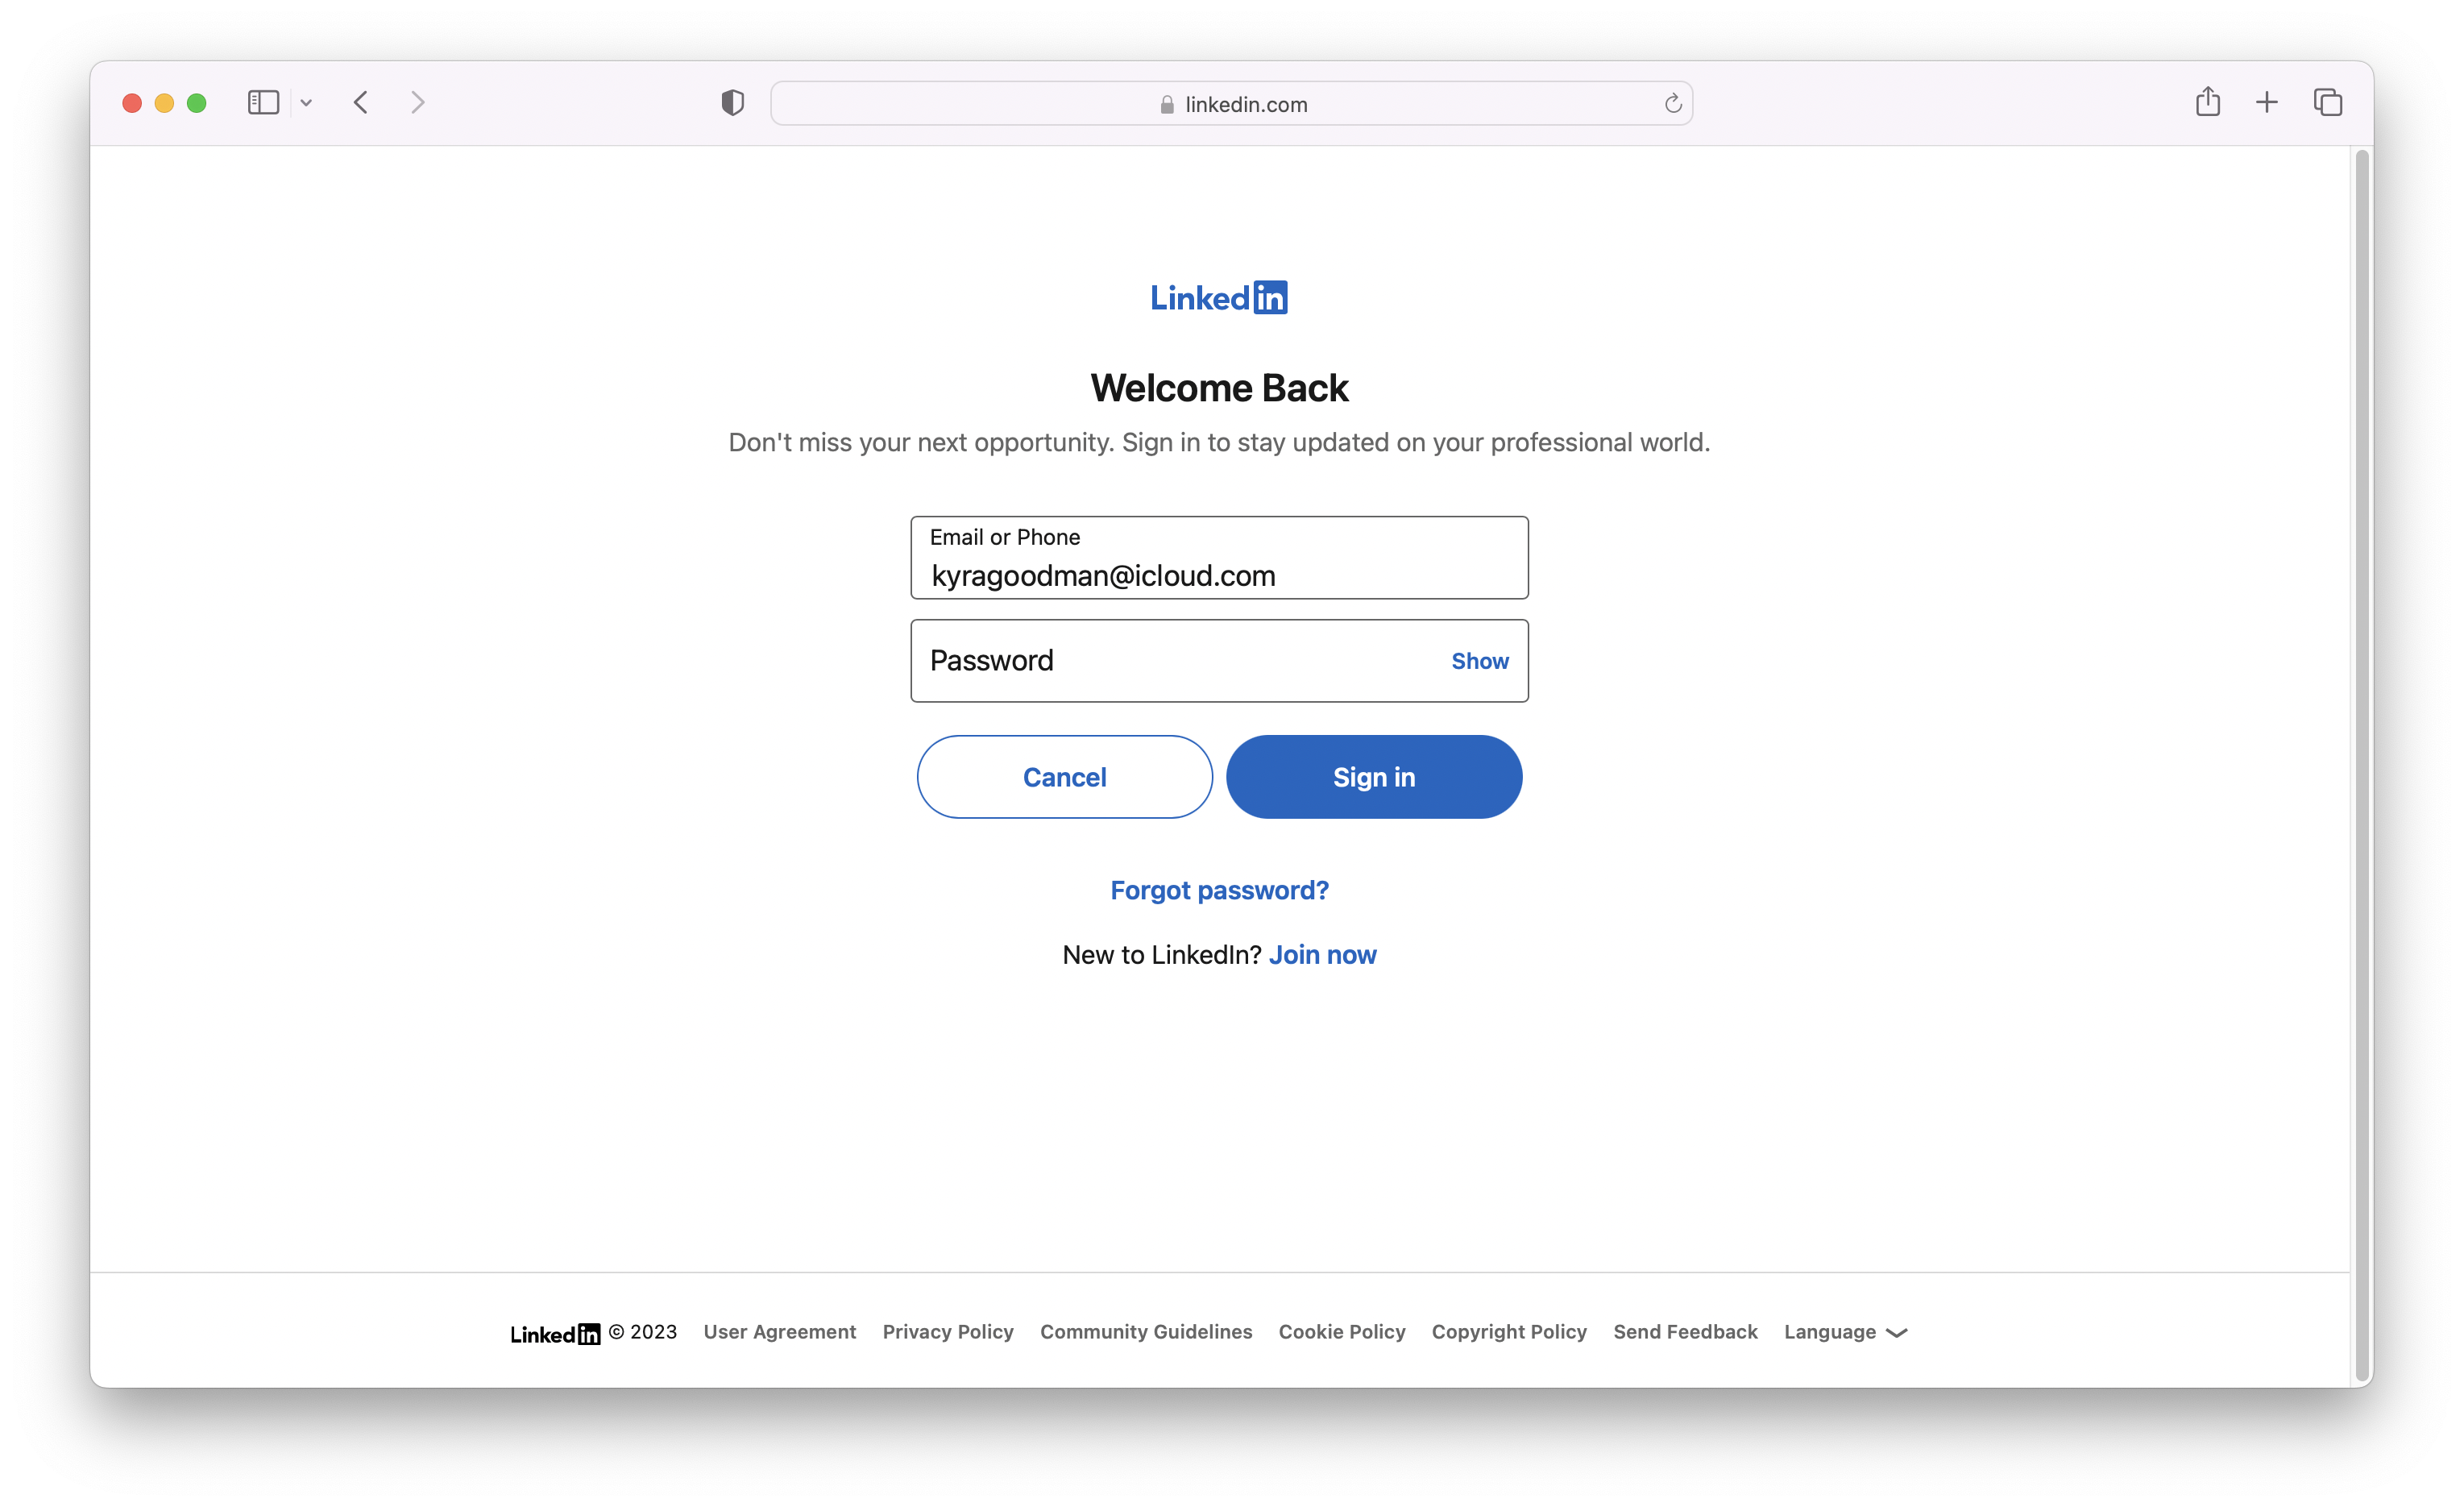
You will be directed to log in to your LinkedIn account. Enter your details and click Sign In.
Then grant the permissions requested by clicking Allow.
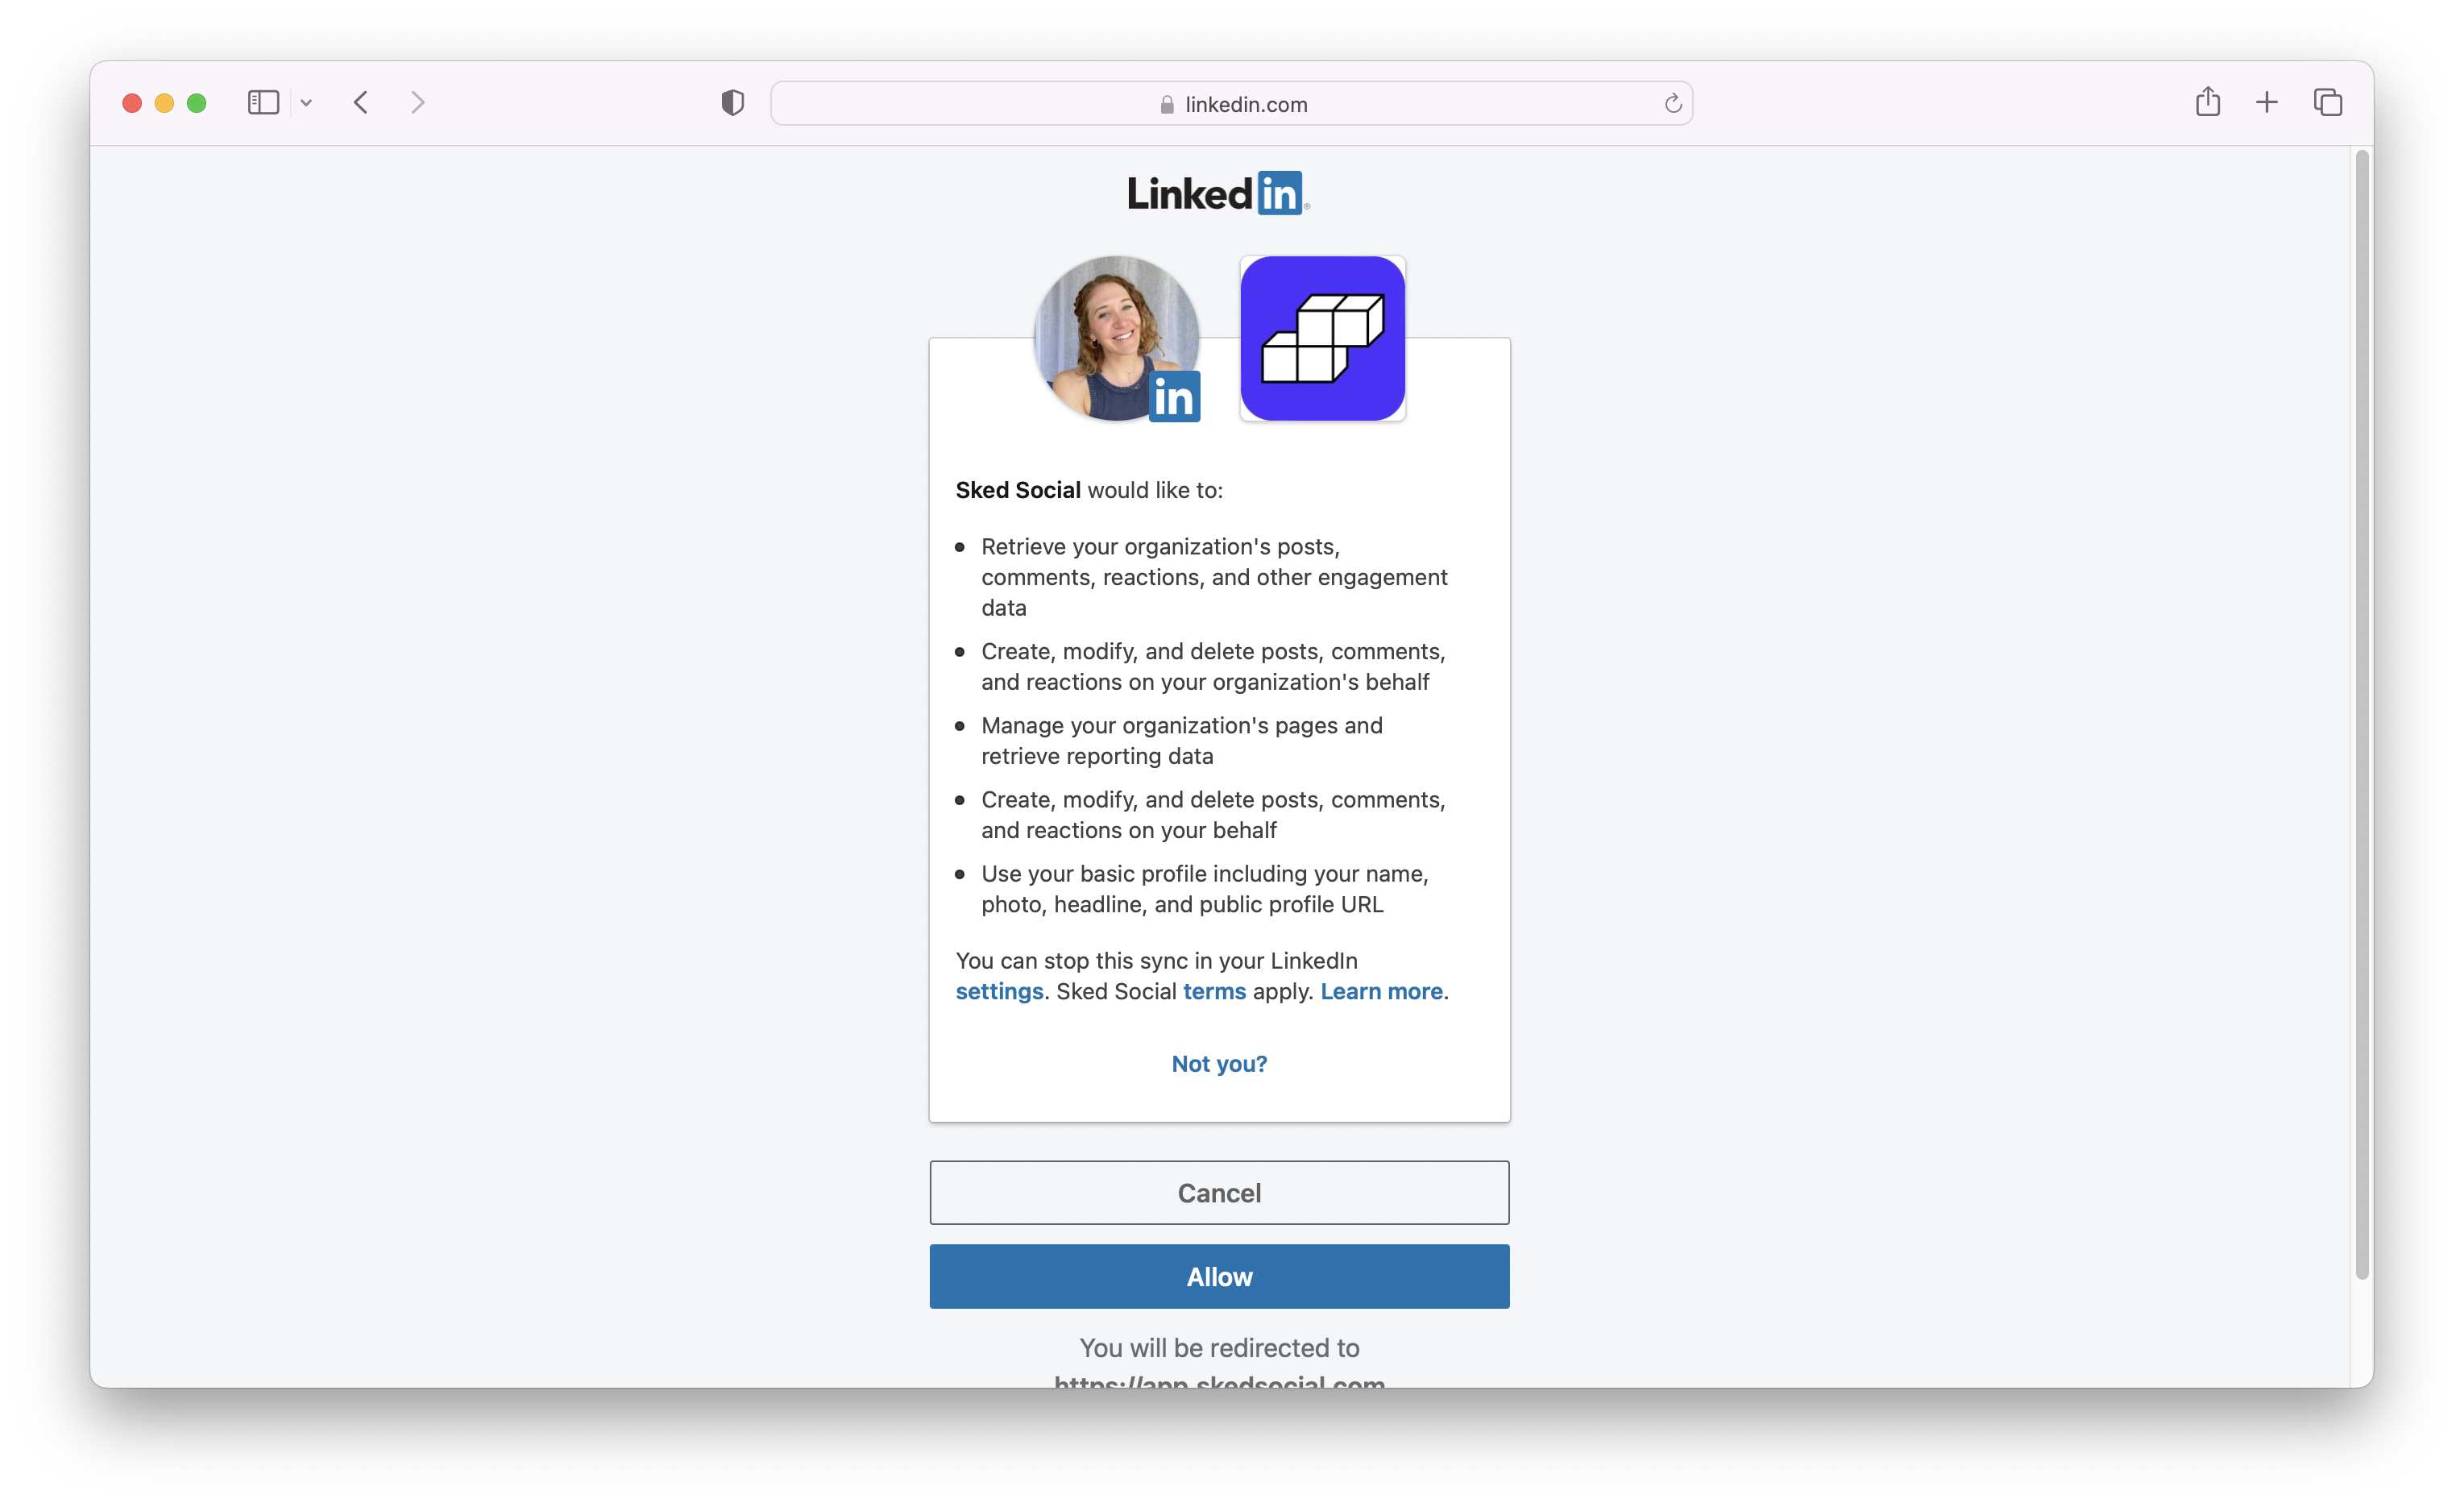
Now Sked will recognize which accounts you have admin access to and give you the option to connect them.
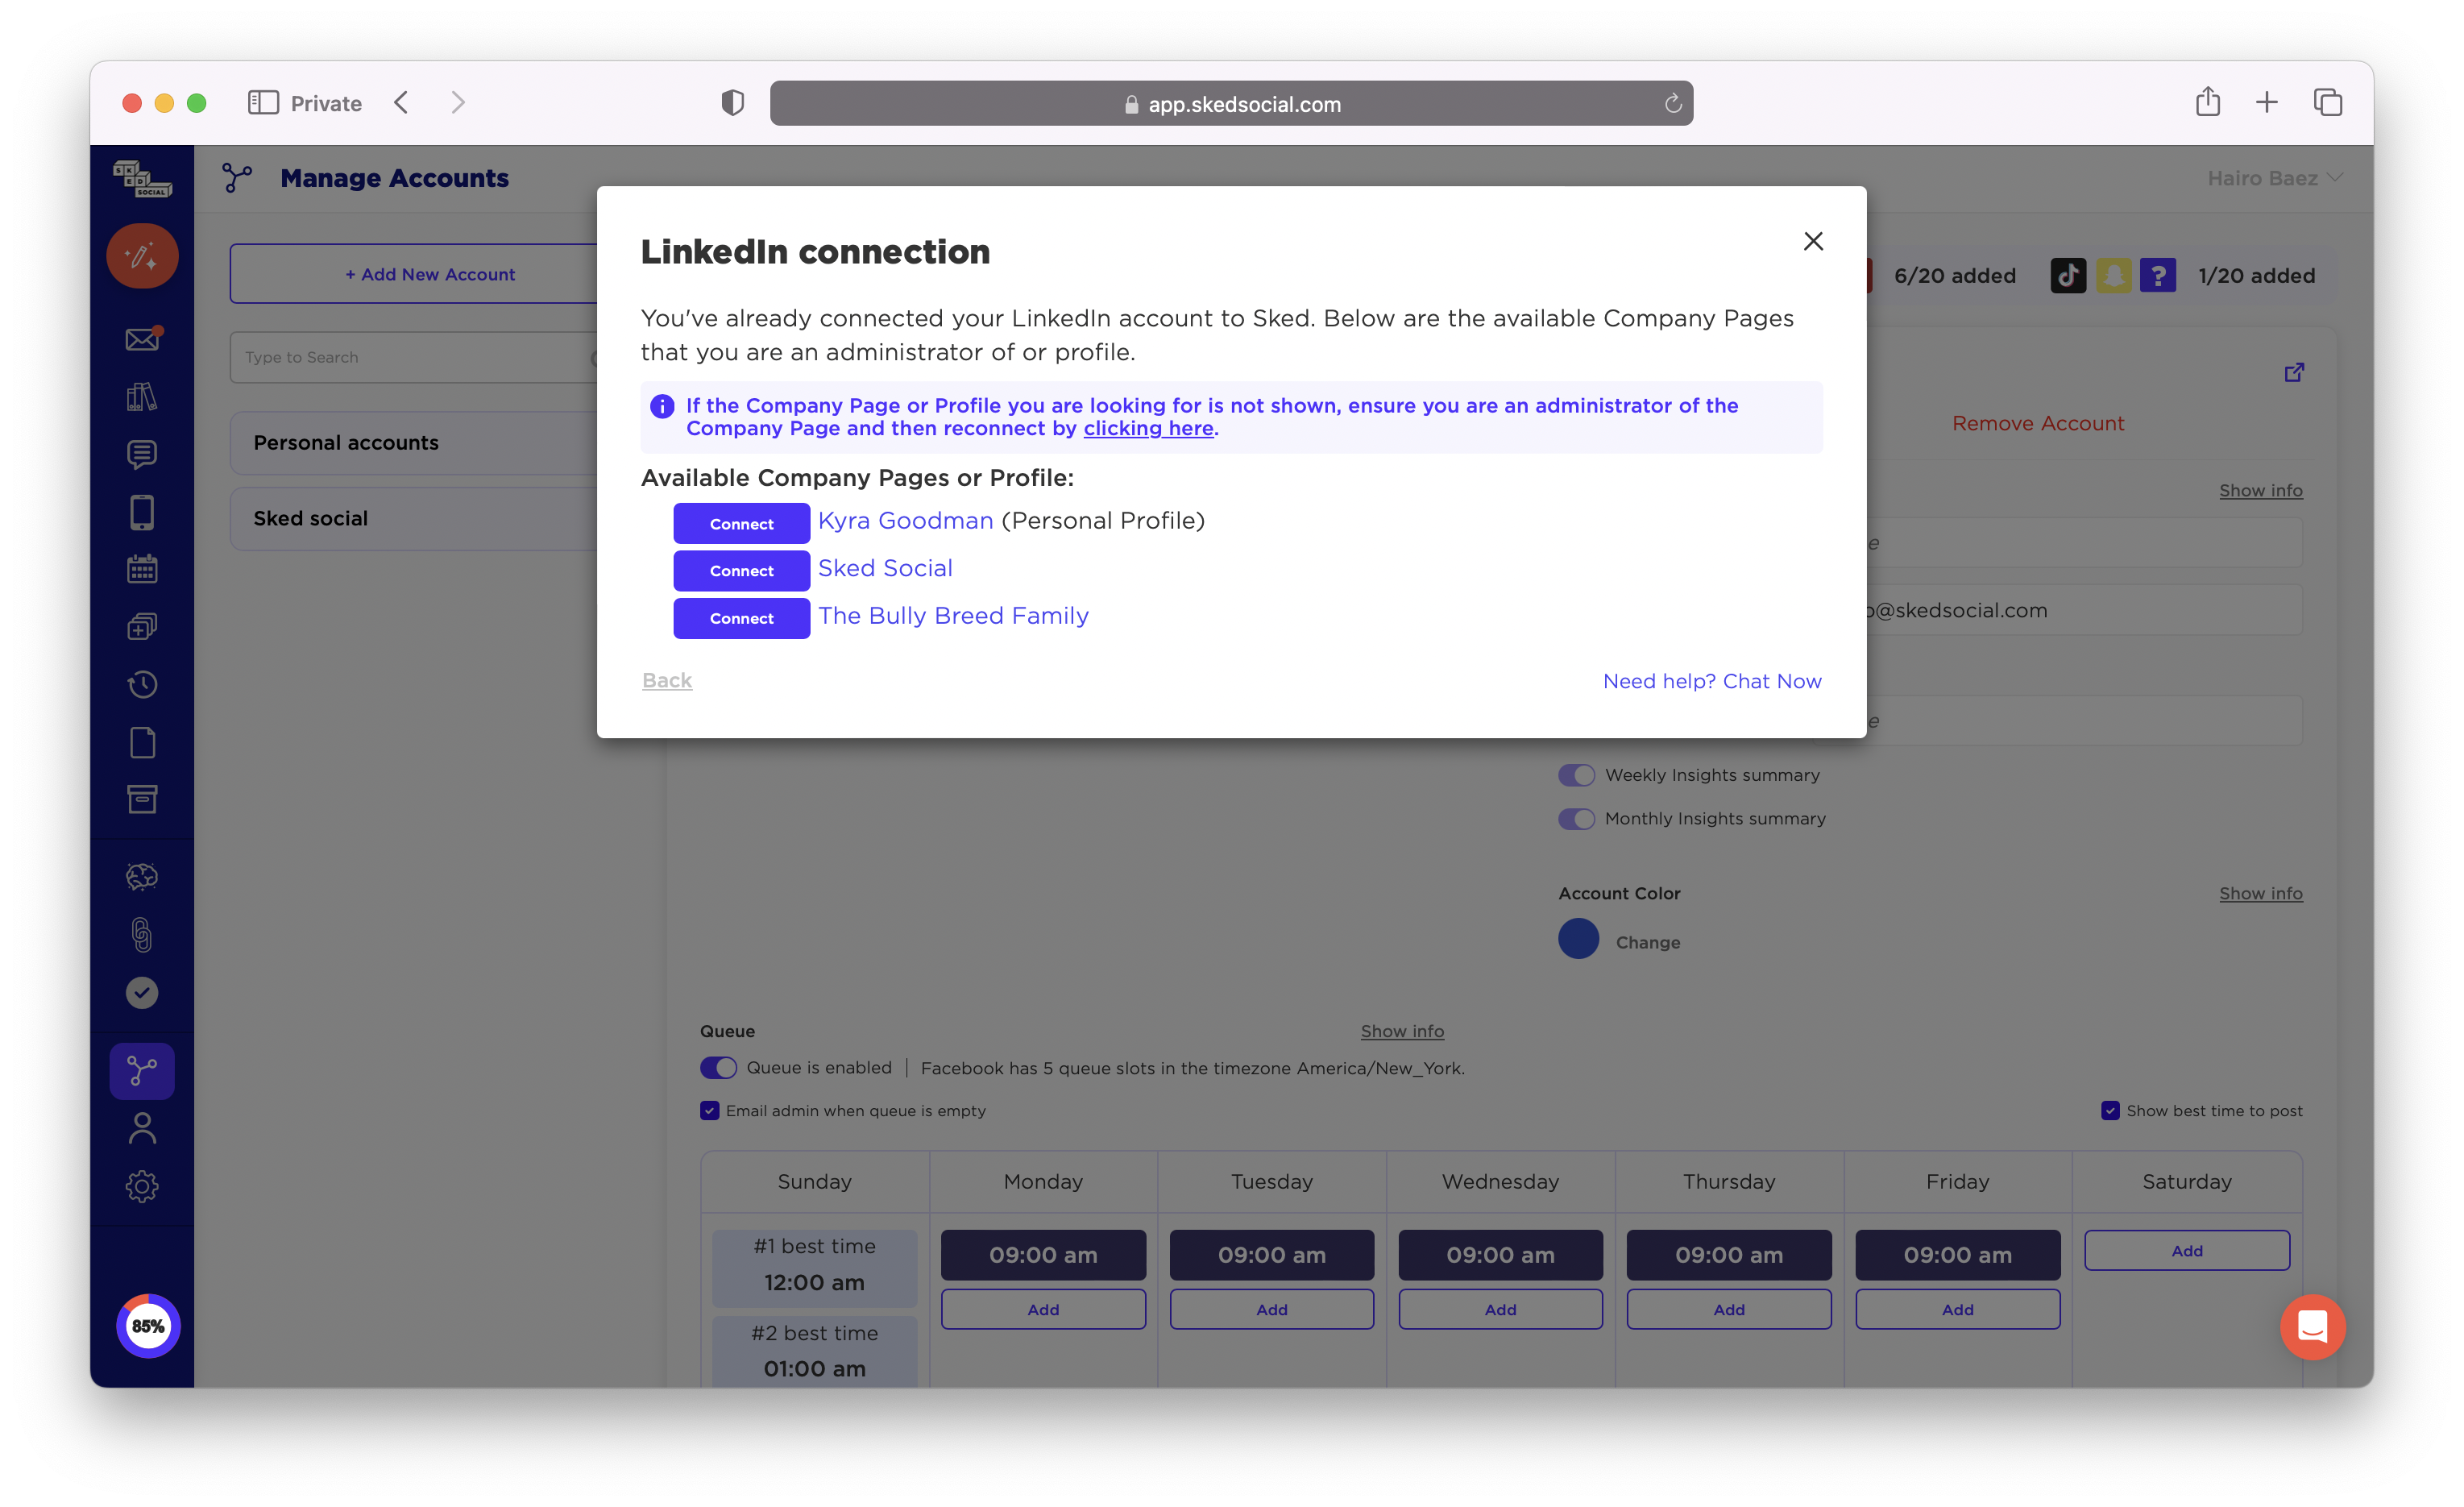
Click the blue Connect button for the account you want to add. Now you're connected!
Customize Account Settings
Once you get your LinkedIn added to your Sked account, you can customize your settings.
You can create groups to more easily select multiple related accounts at the same time when creating or editing posts. You can also specify a display name for each account within Sked.
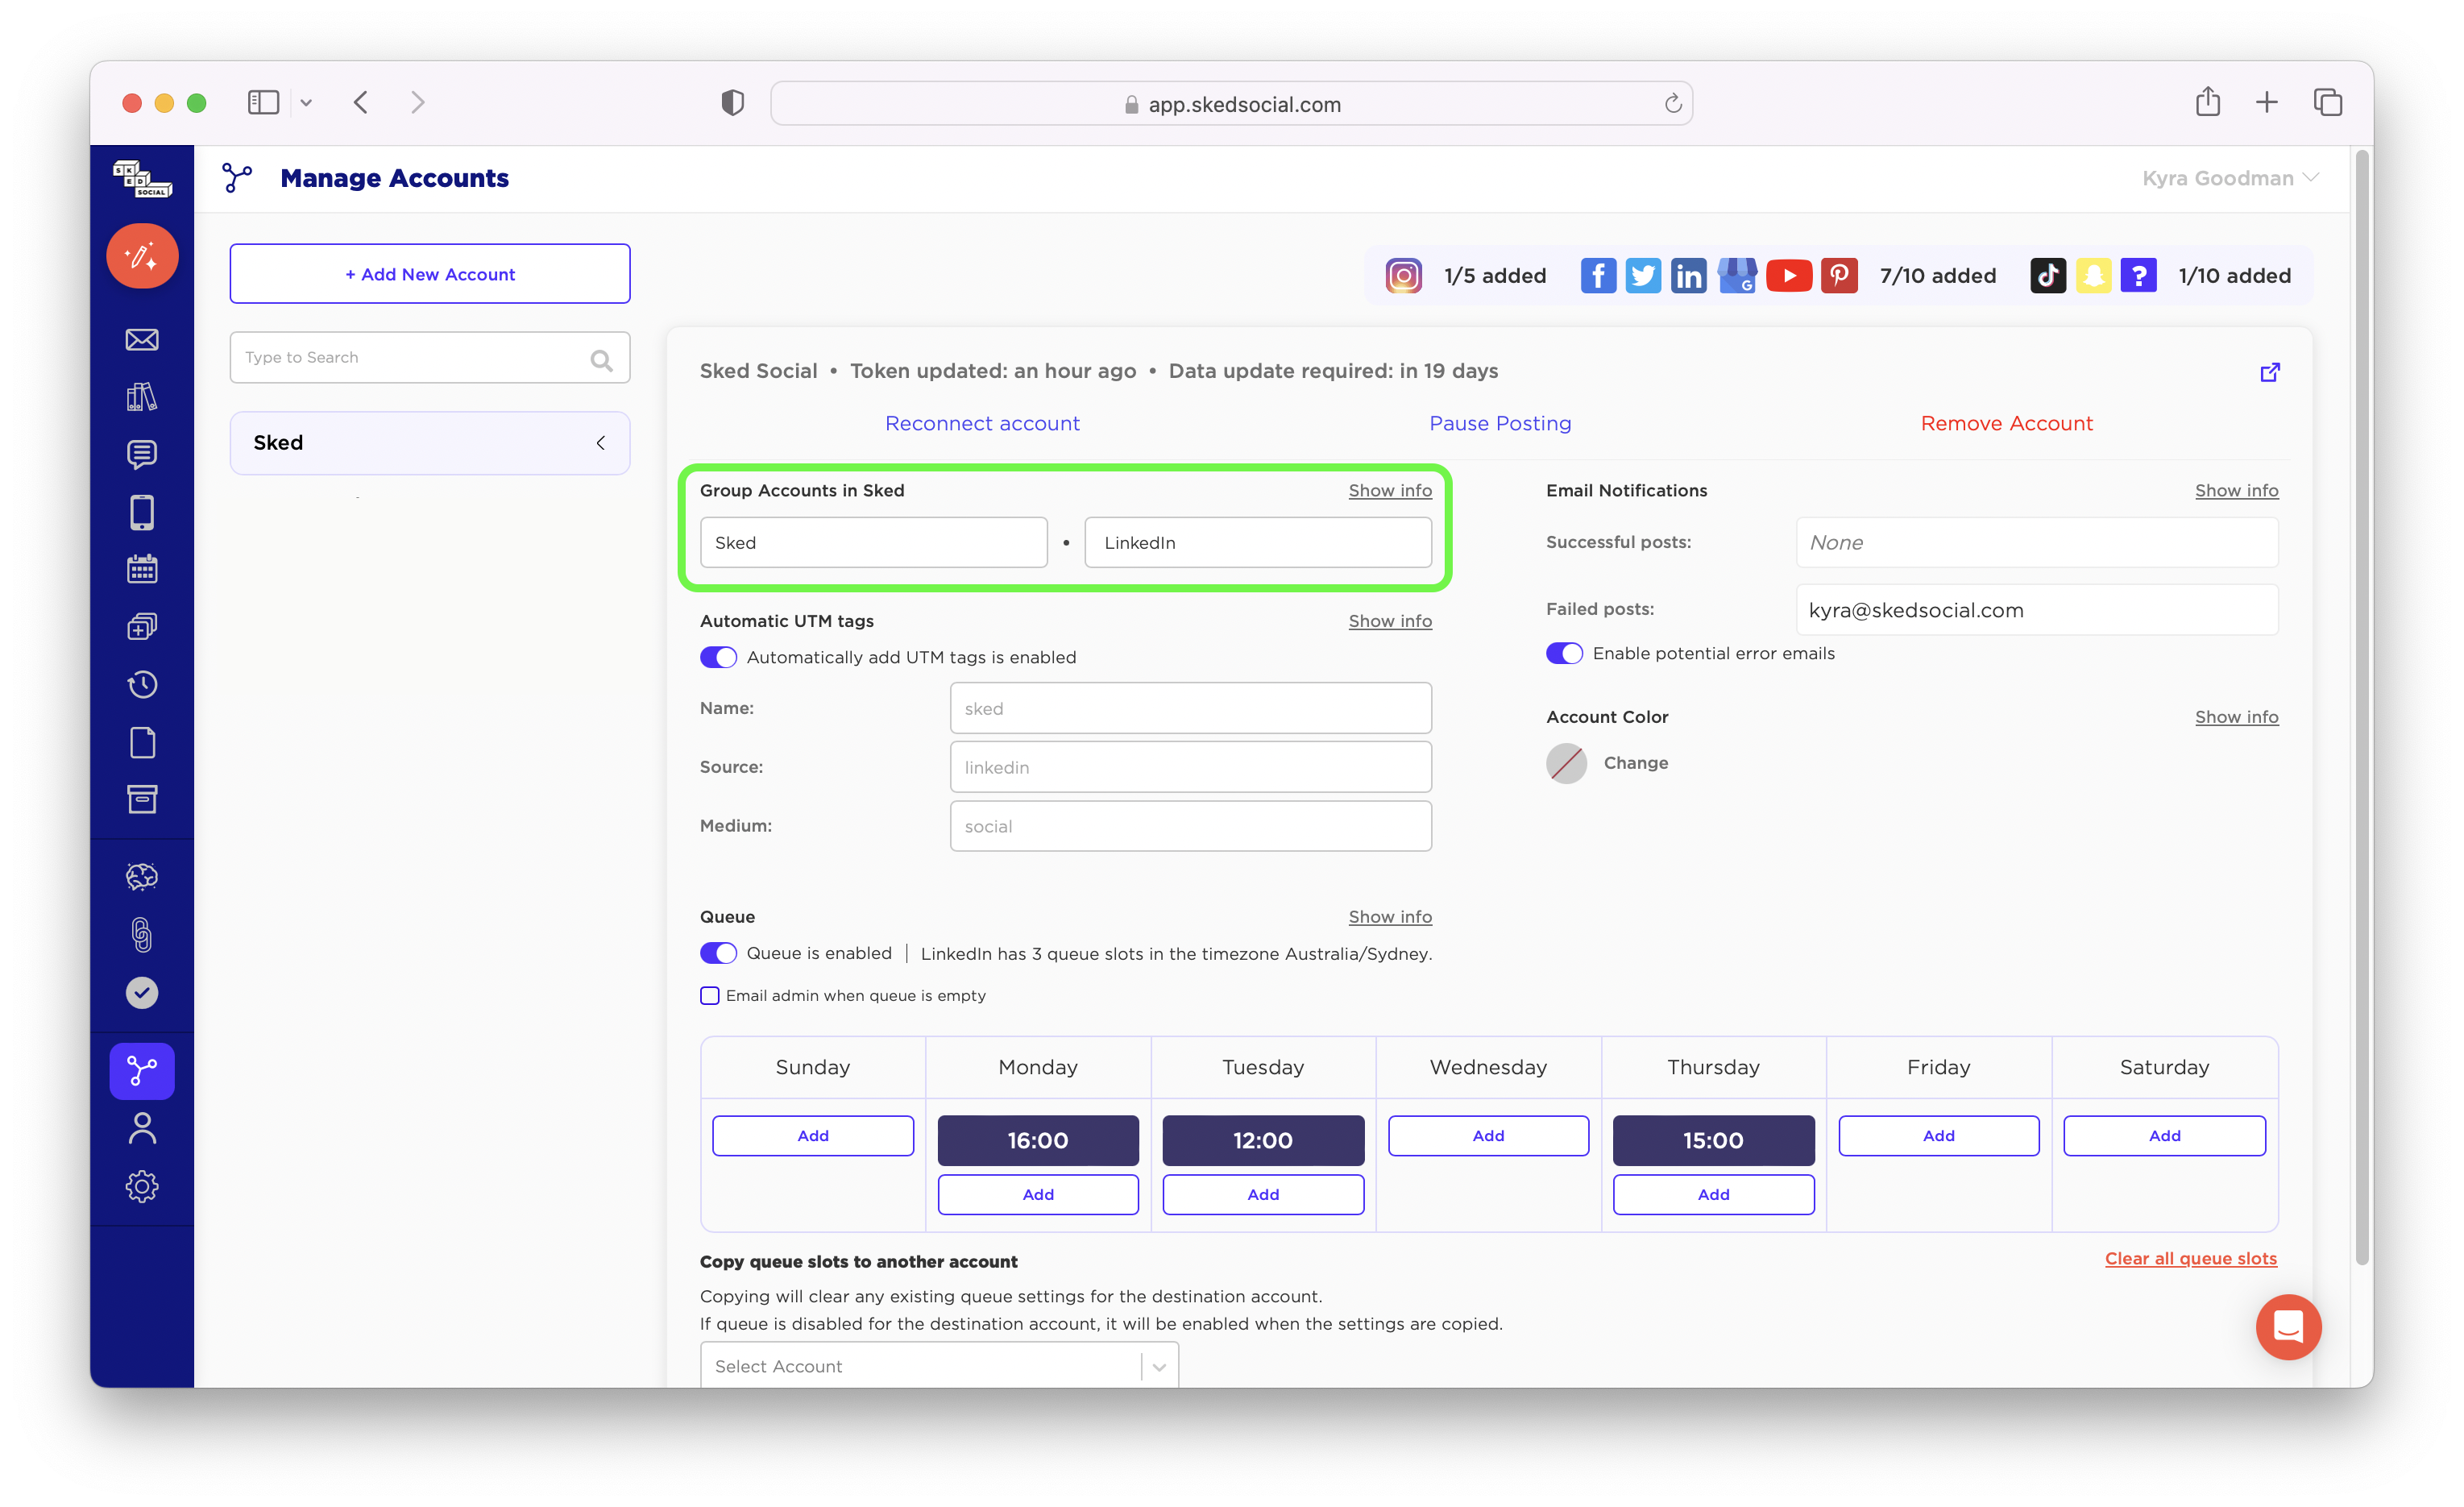
If you want to automatically add UTM tags to your social media posts, toggle on this button and edit the name, source and medium if required.
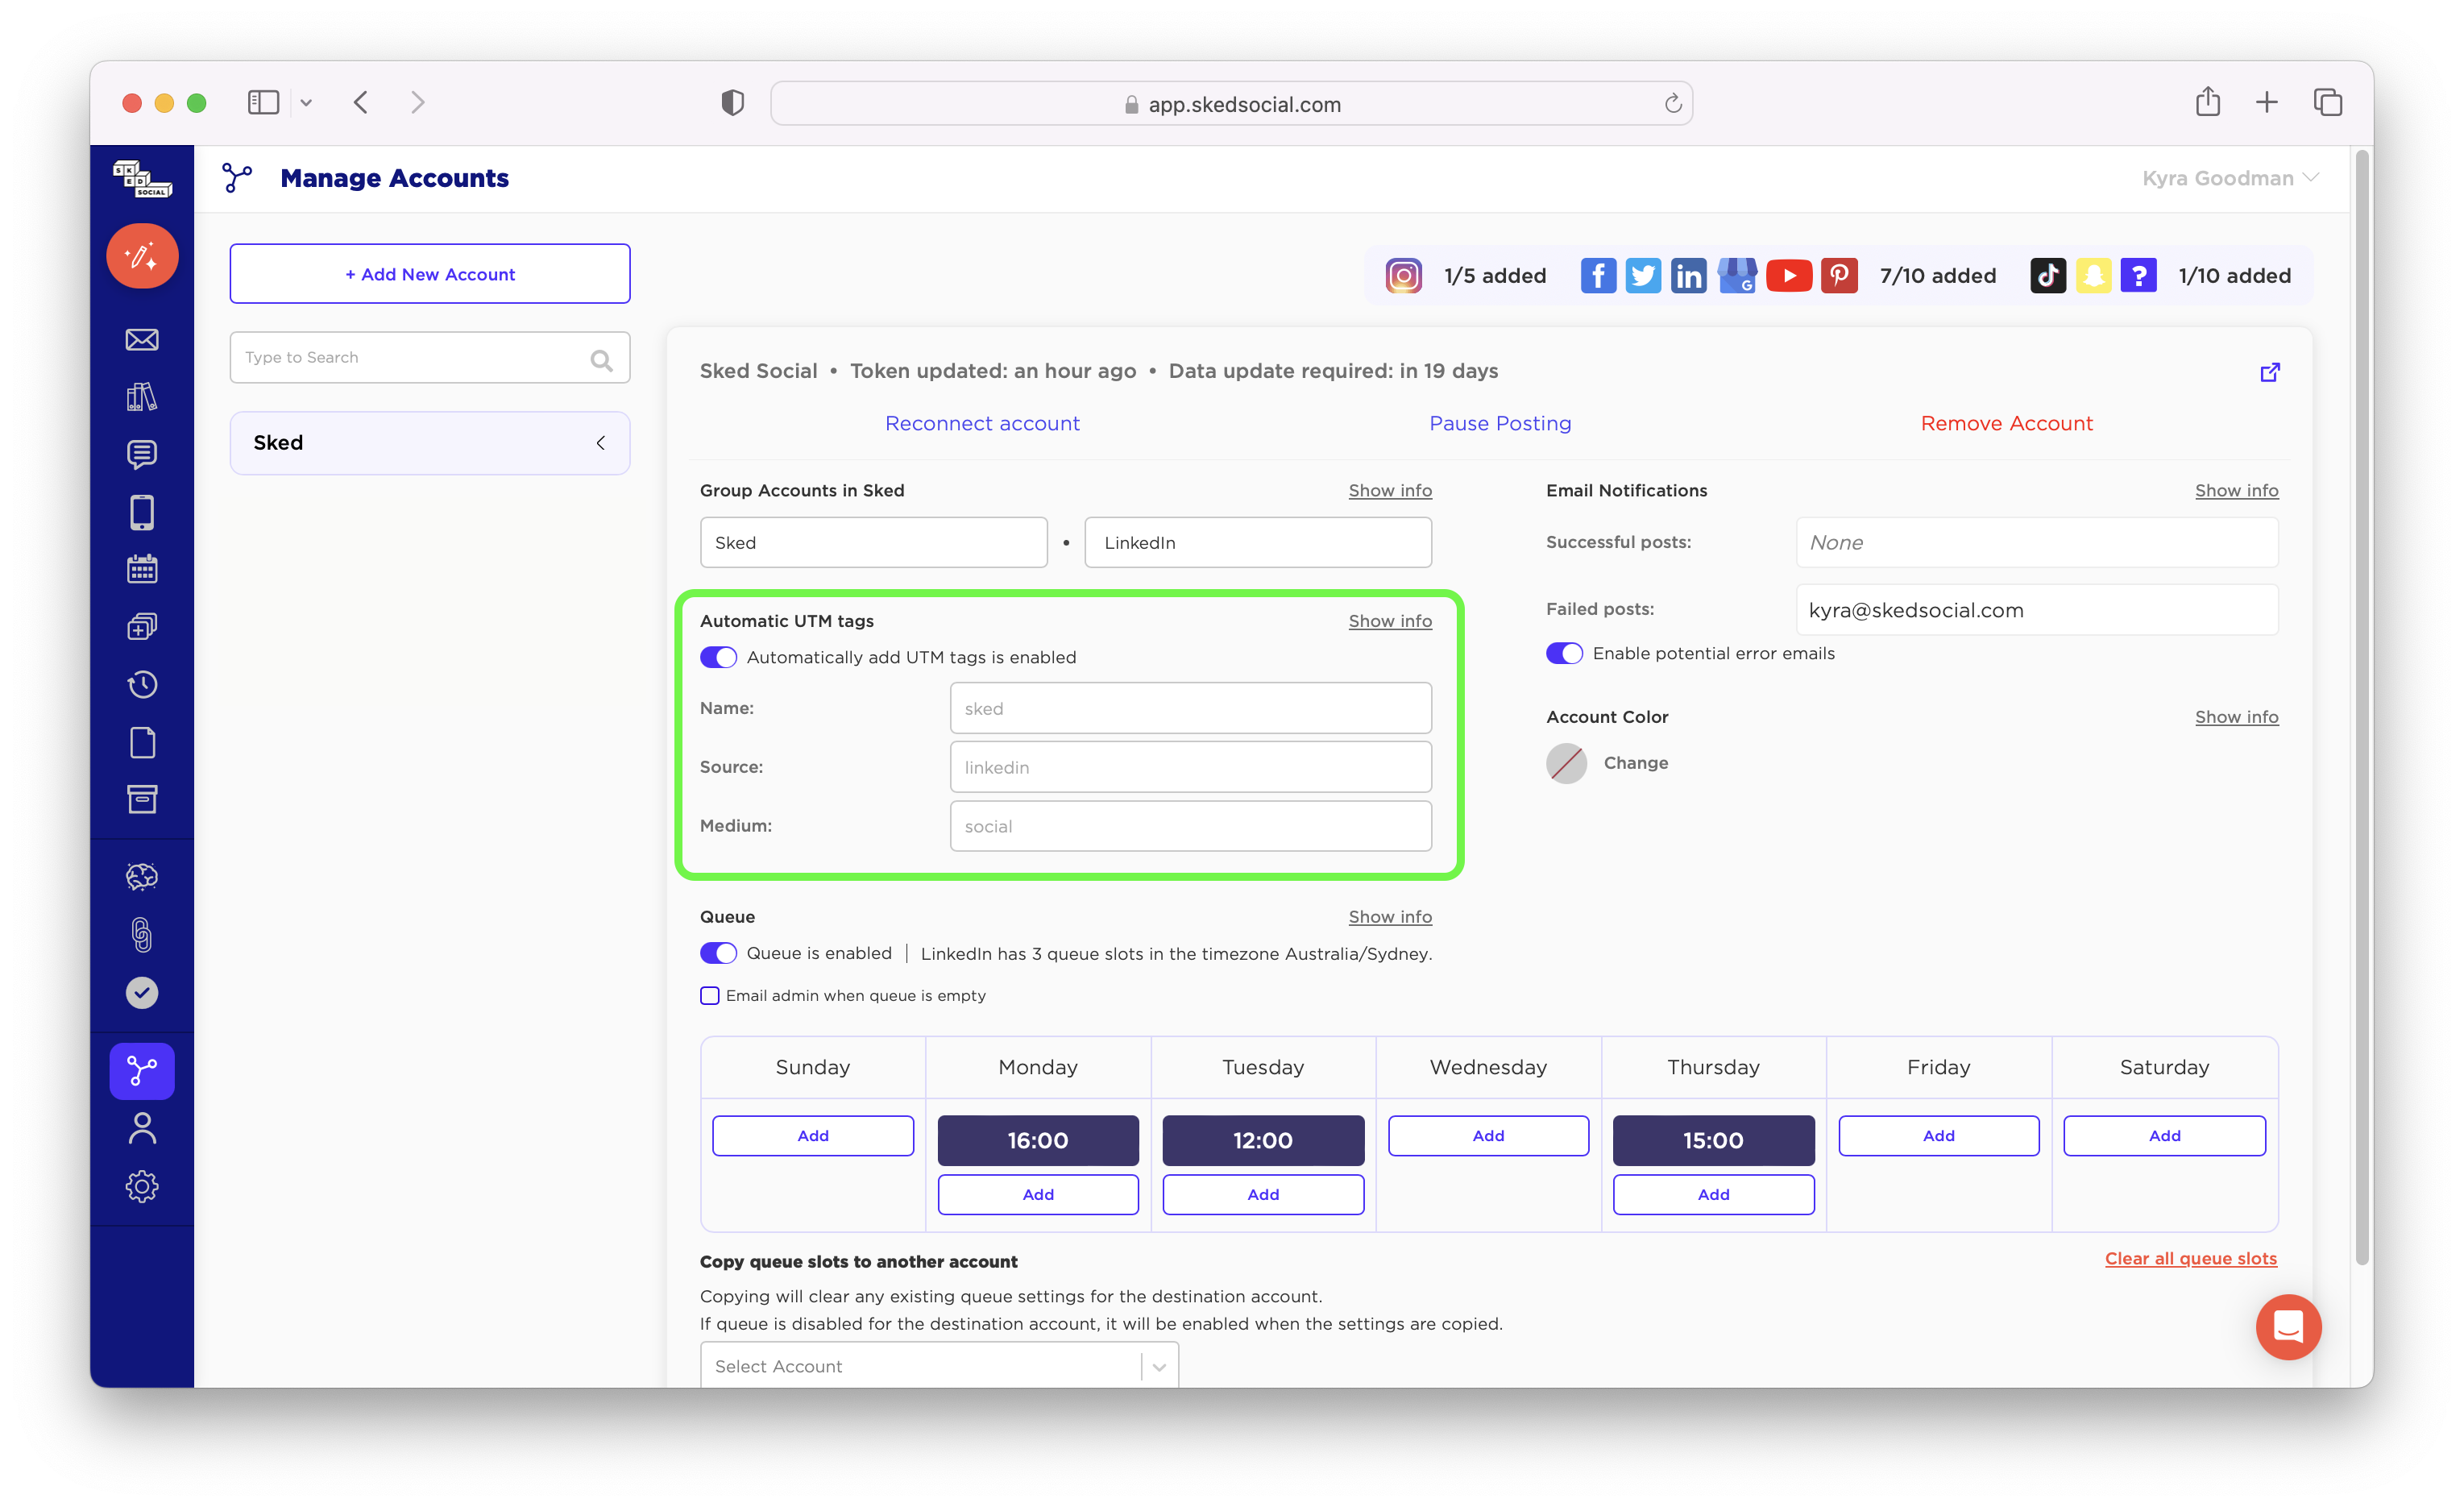
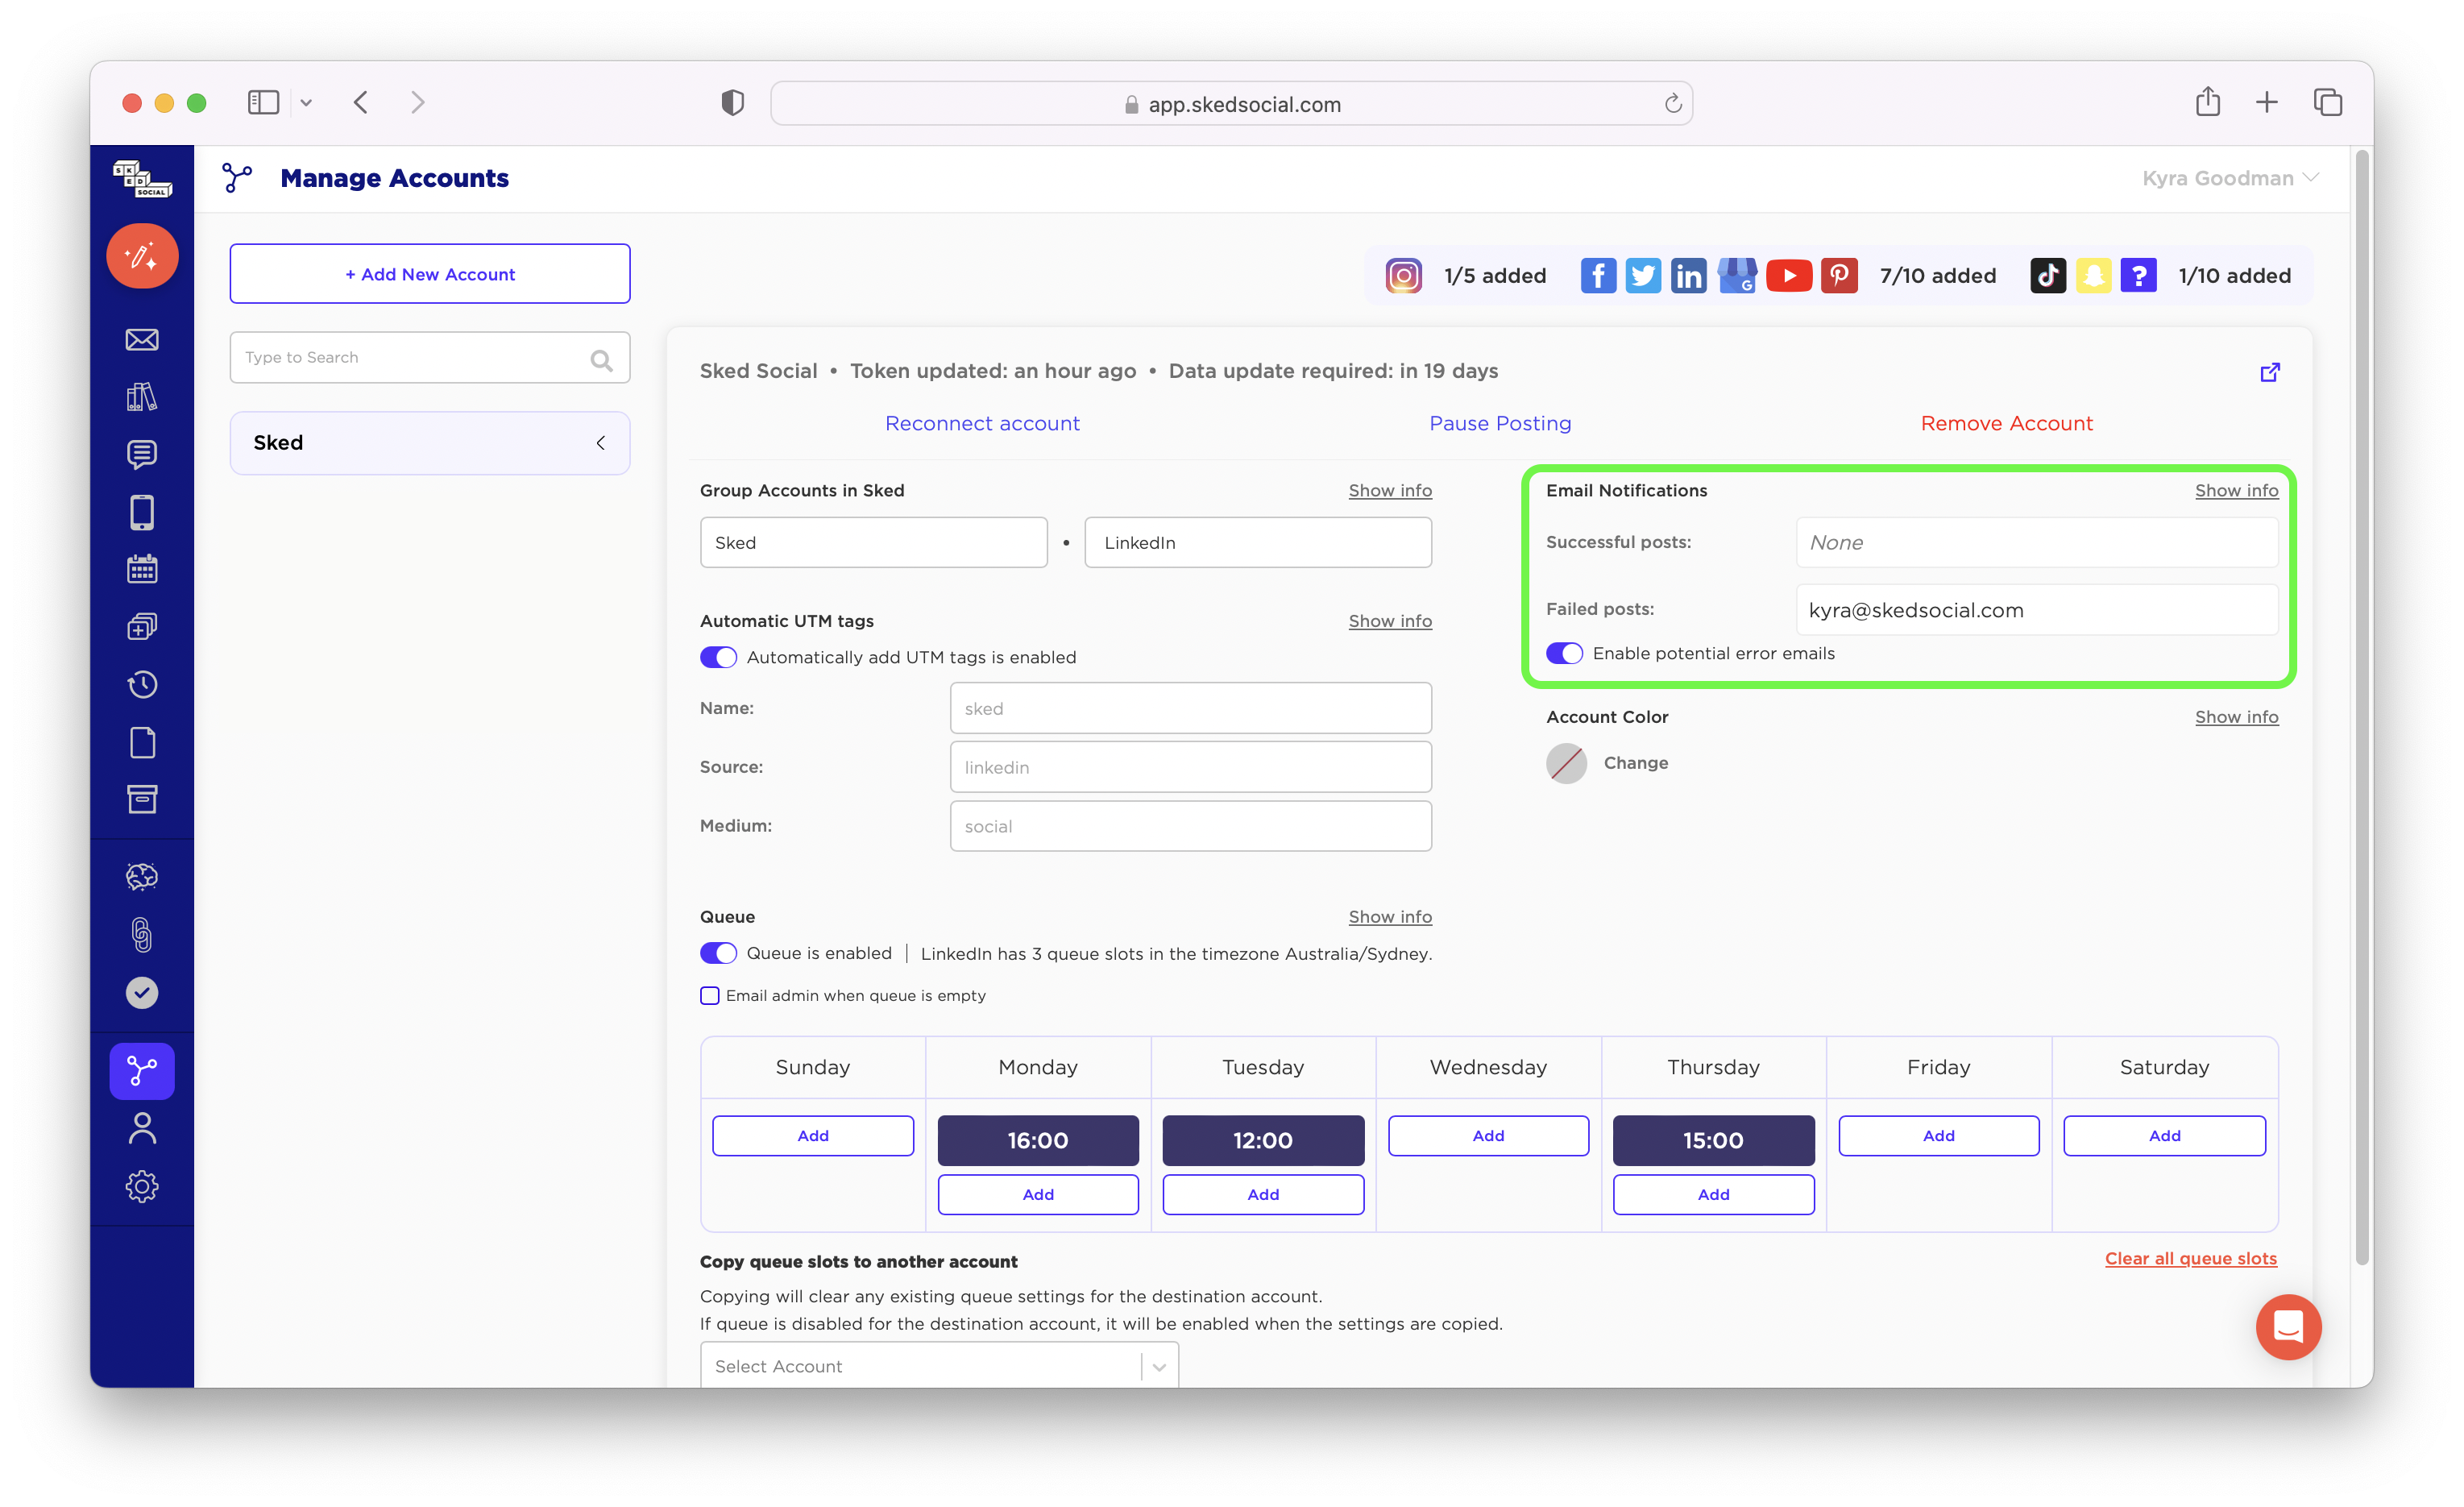
To update who receives the email notifications for this account, enter the Sked users here. Up to 5 email addresses can be added.
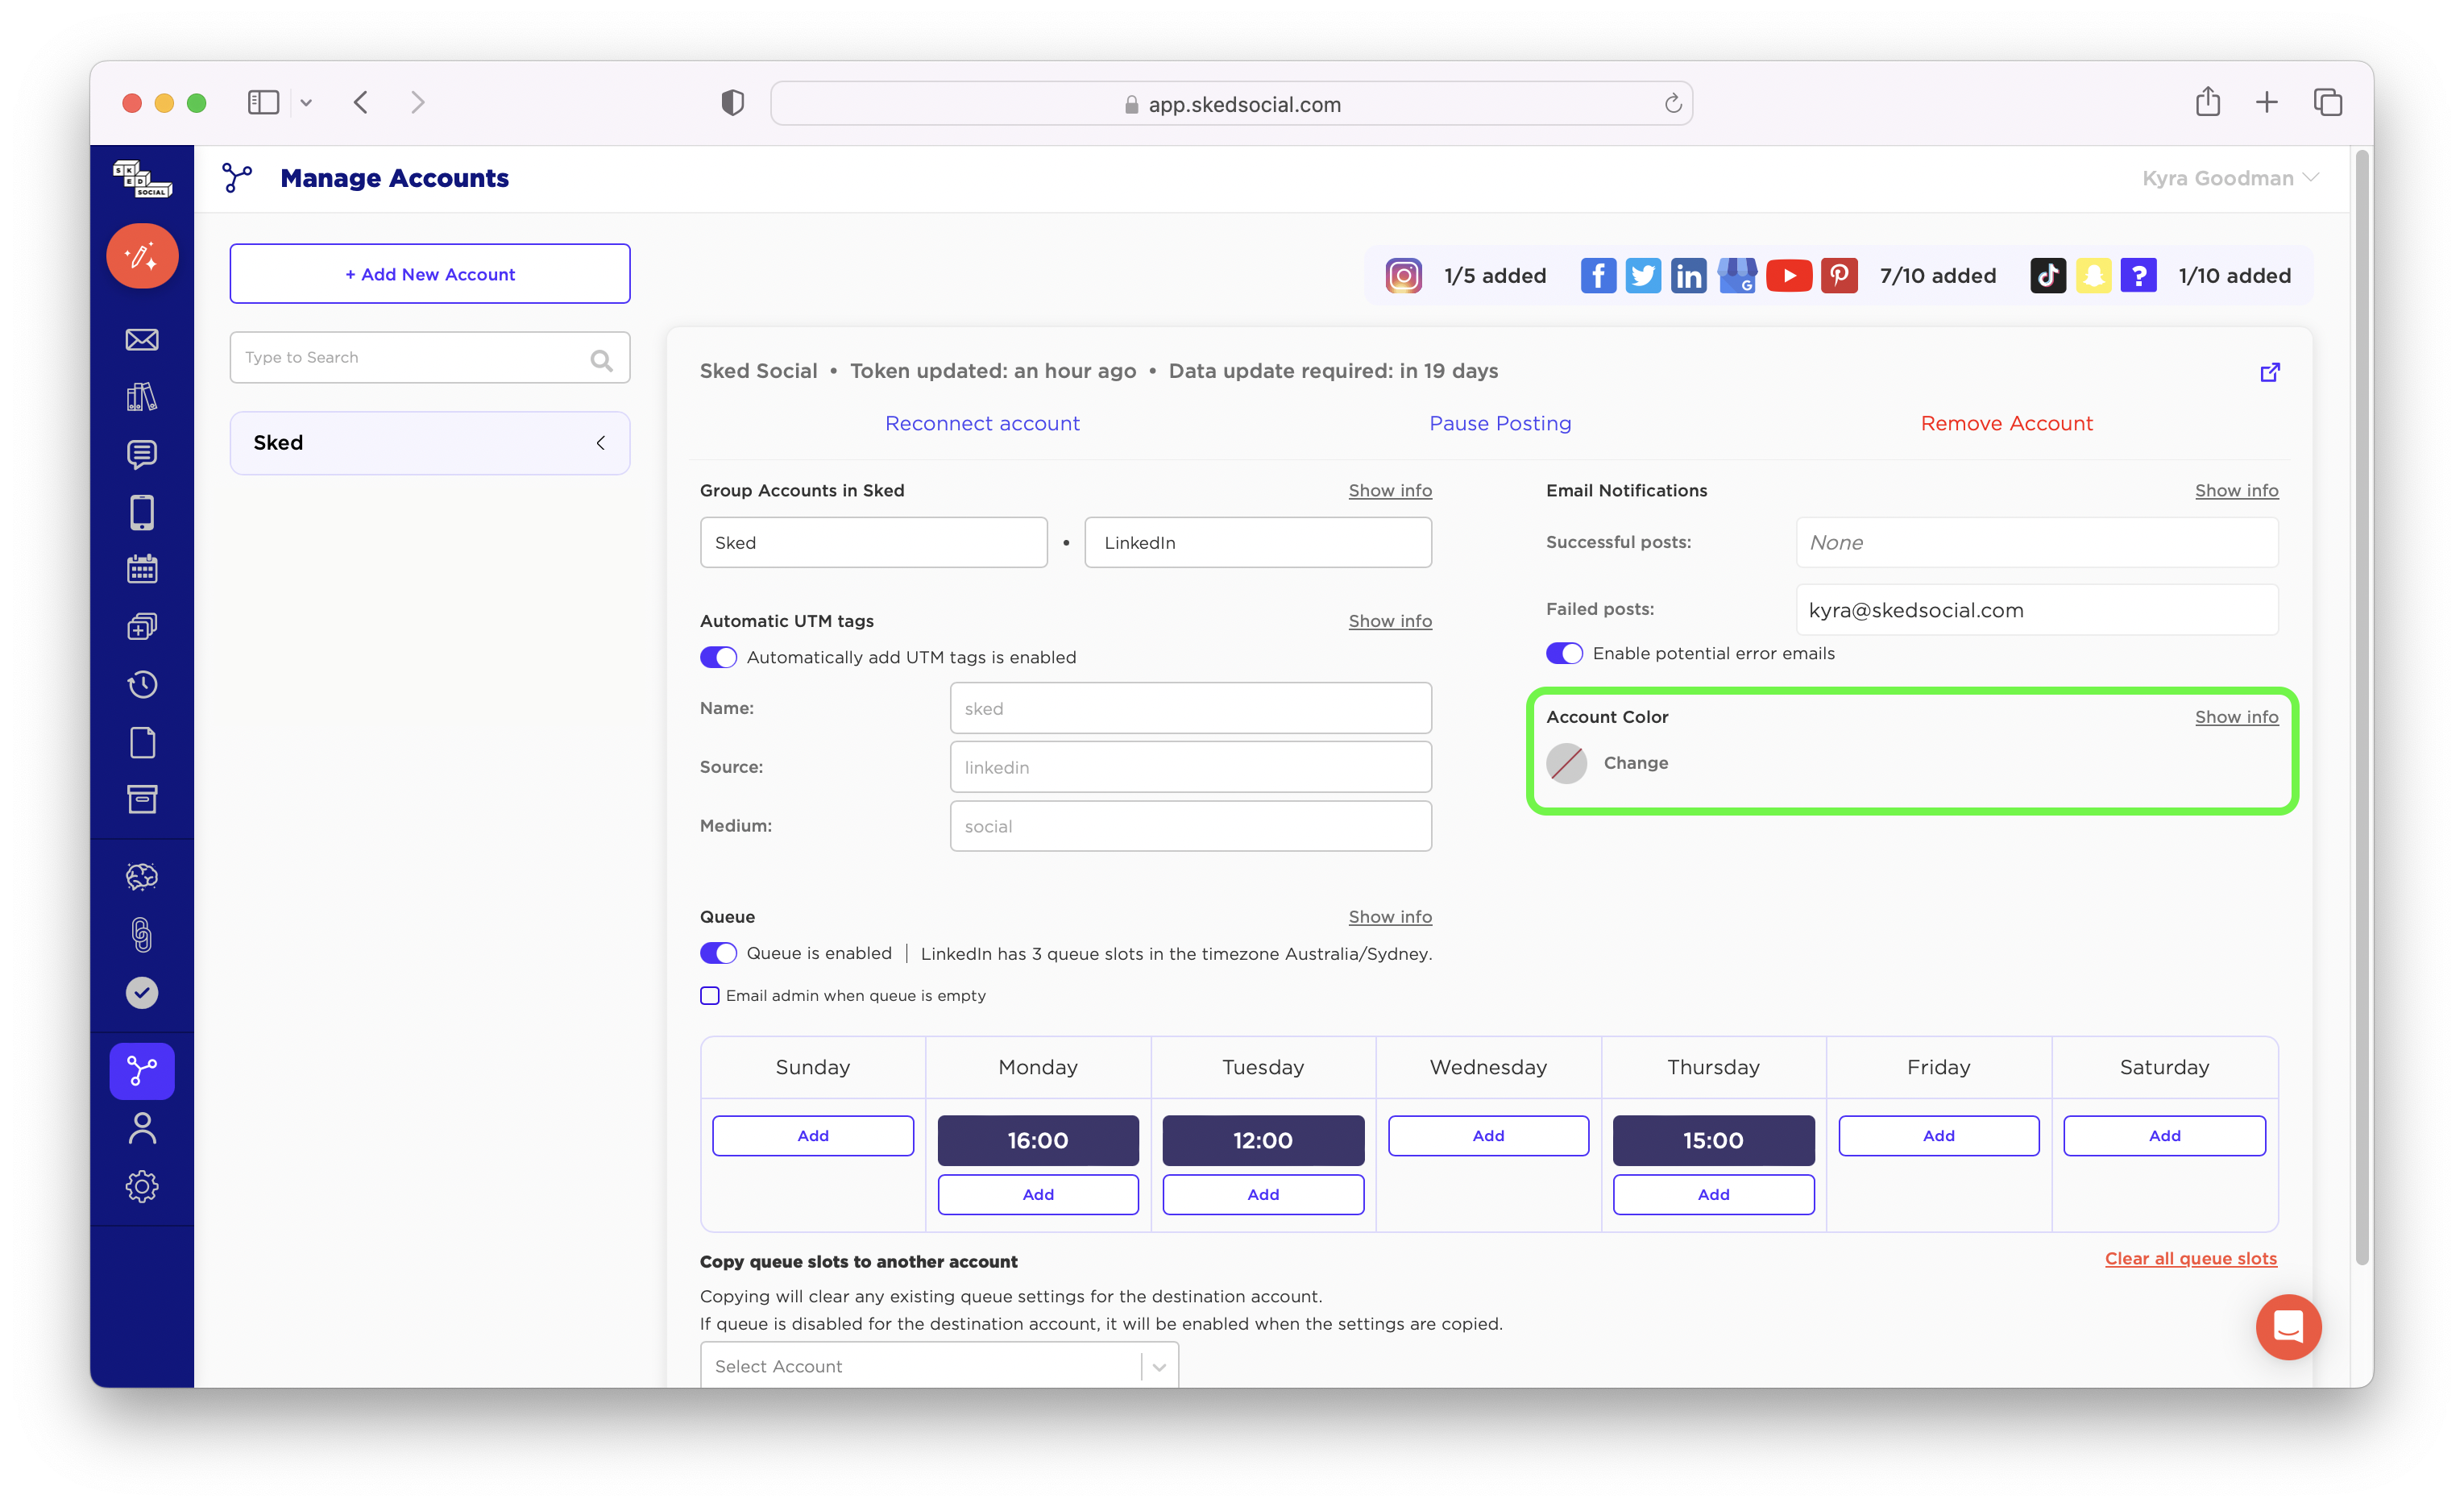
Select an account color that this account will be associated with on the Sked dashboard.
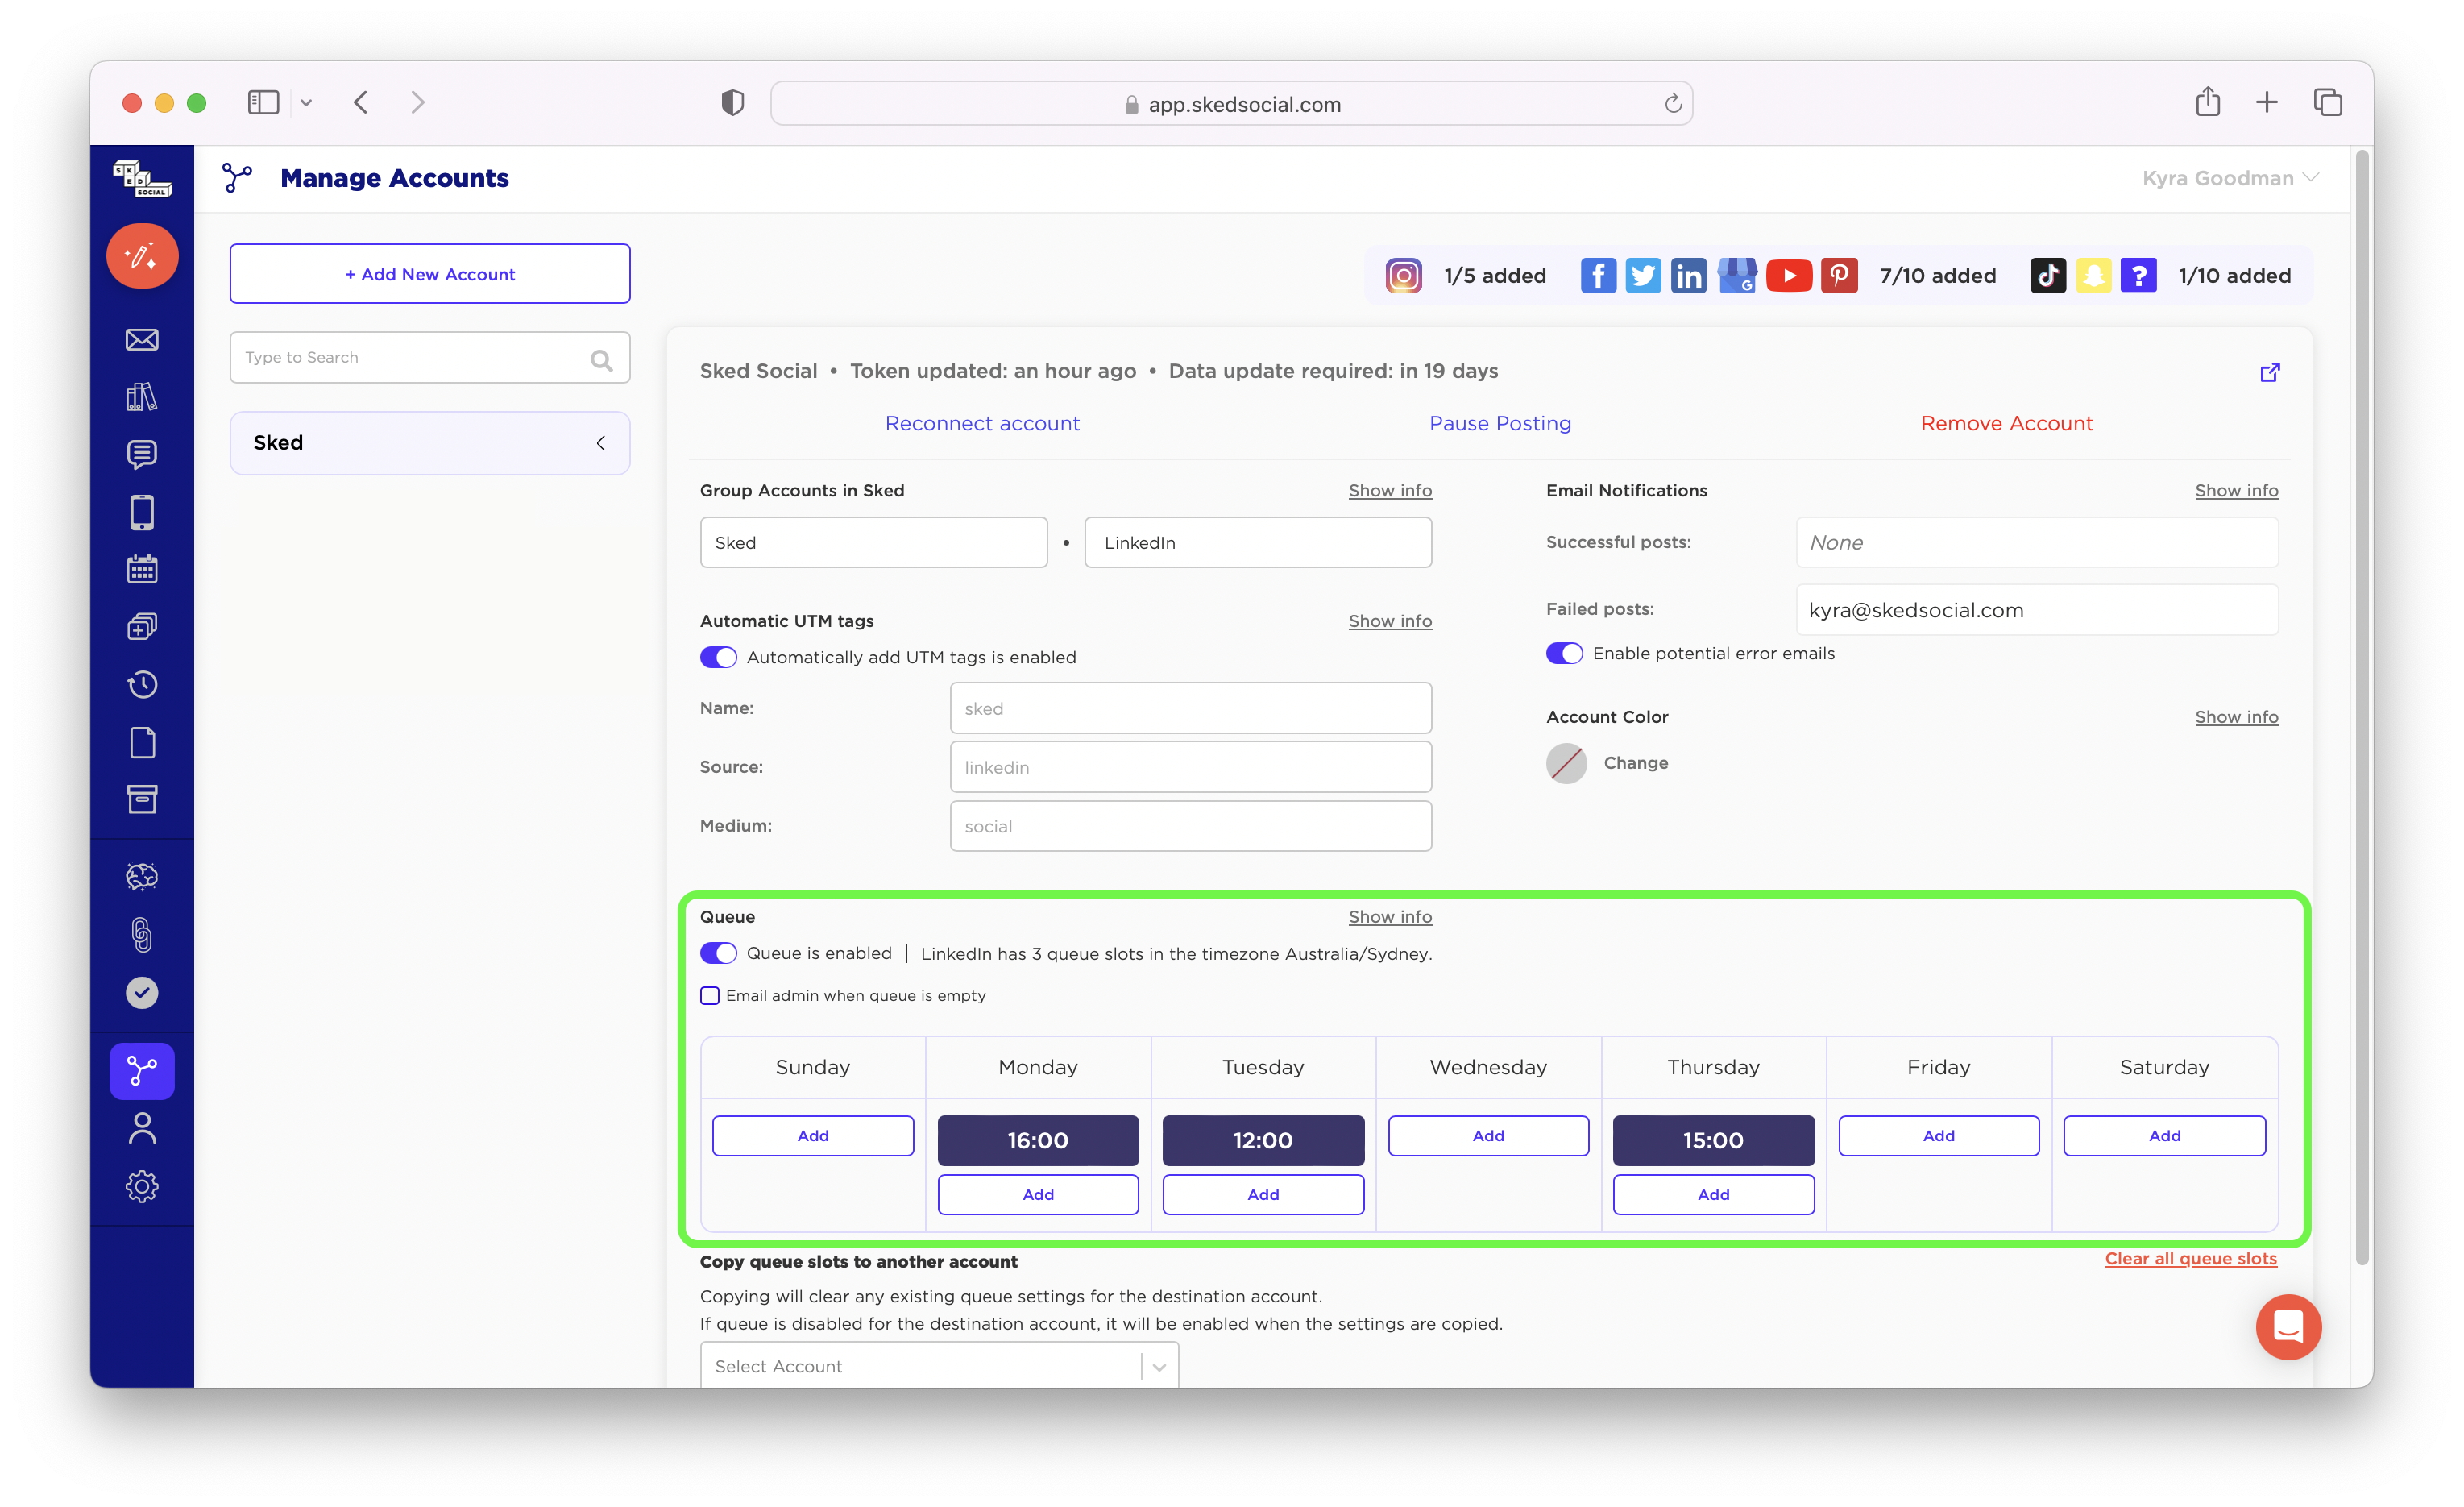
Next, enable your Queue. The Queue allows you to create a regular posting schedule to easily automate your posting times. Select times throughout the week that you want posts to go out on and when you’re creating posts you can “Add to Queue” and the post will automatically fill the next available slot.
Now you’re ready to start scheduling!
